Good Files Make The Magic Happen - Preparing Your Digital File
When working with us to laser cut your pieces, you’ll need a digital file. We offer design assistance if you need help making your file, otherwise you can also provide your own. If you’re prepping your own files, you’ll want to make sure that you follow the following steps to ensure your pieces will etch/cut as you’d like.
1.Make sure your file is a vector file
We talk more about the difference between a vector file types [.ai, .eps, .dxf] and raster file types [.jpg, .png, etc.] in our blog post - Good Files Make The Magic Happen: Vector and Raster Files
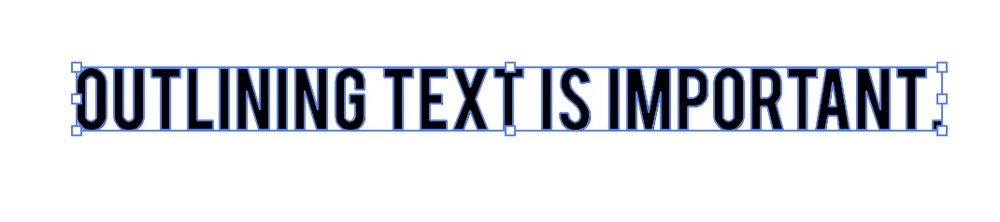
2.Outline your text and outline any strokes that you want thicker than .25pt
Outlining text in illustrator/other vector programs will create vector paths for the laser to read and also allow us to read fonts that we might not have downloaded. We wrote a short + sweet blog post it - Outlining Text in Illustrator
3. Add tabs/bridges for areas that might drop out
Adding tabs (aka bridges) will allow shapes that have both an interior and exterior cut to still appear as one shape. We did a basic tutorial for adding tabs - Adding Tabs to Avoid Dropout

4.Make sure your vector file is clean
If you have any overlapping shapes or text, you’ll want to use the pathfinder tools to create clean shapes - this will allow the laser to read them as one continuous shape. We wrote about the pathfinder tool in sections - Unite and Minus Front
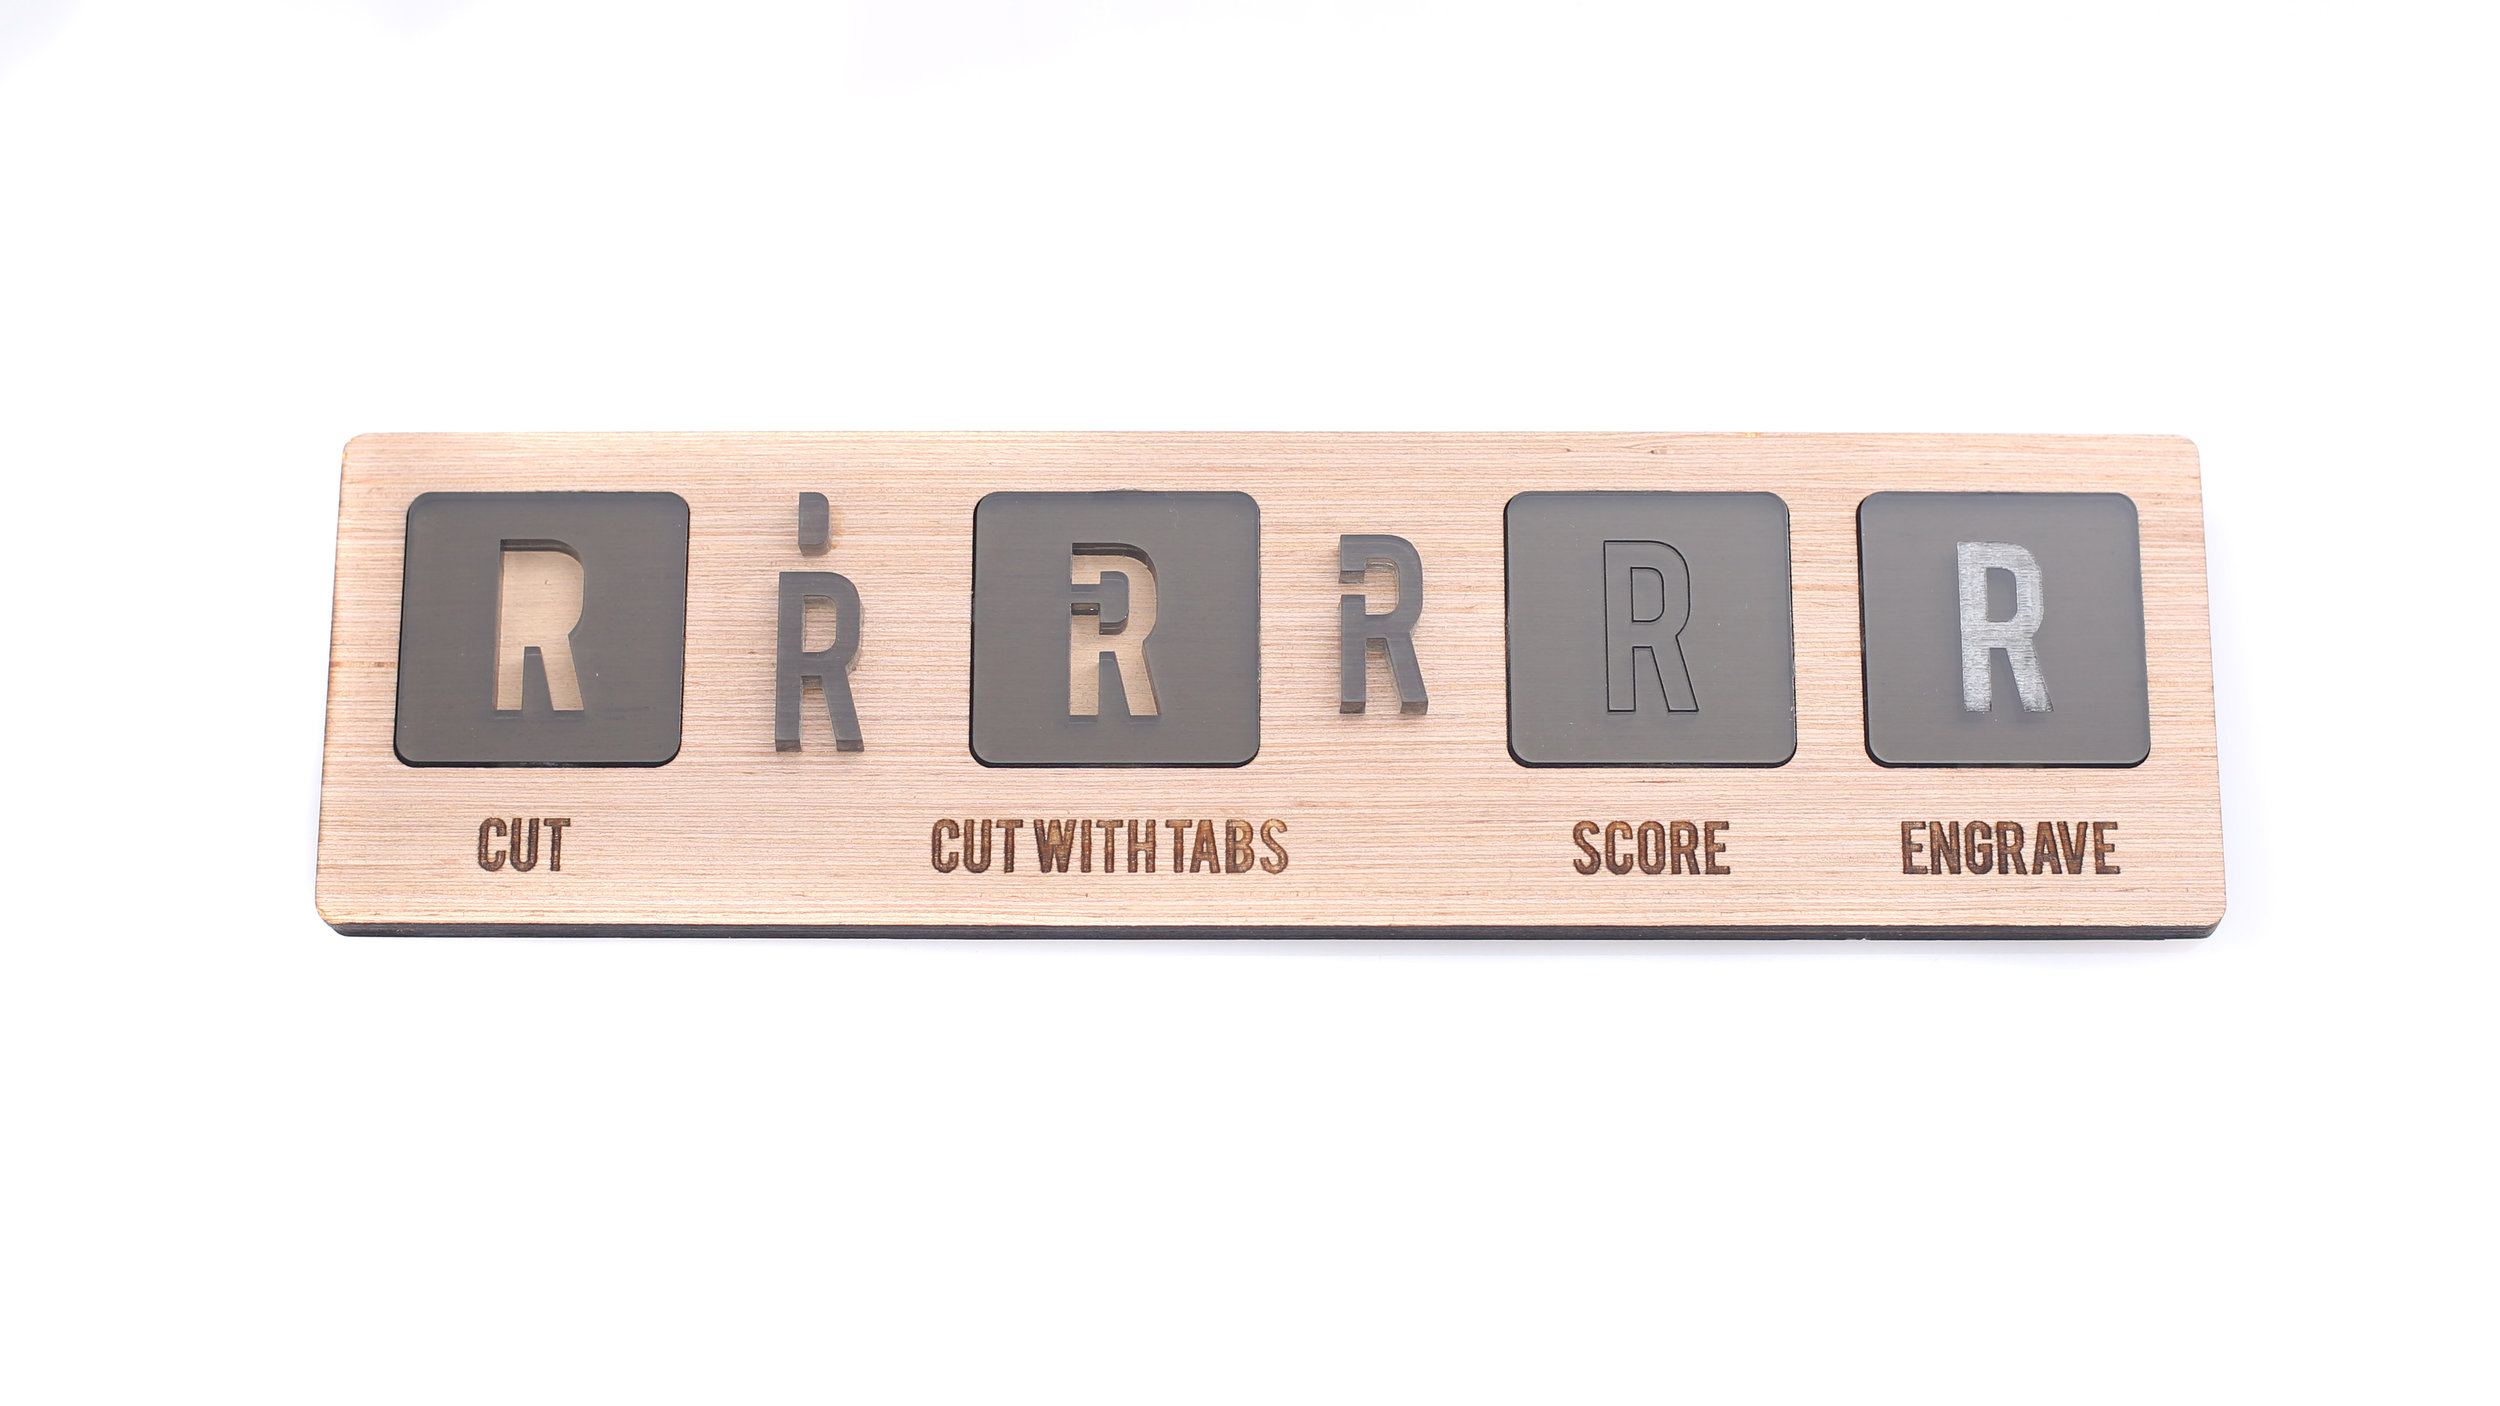
5. Color code by cut style
Color coding your file is helpful for us to know what areas you’d like cut, scored and engraved. We’re not super picky with the colors, as long as you tell us what color is for what cut style, but we color code with the following:
BLACK - CUT
BLUE - ENGRAVE
RED - SCORE