Finishing Your Pieces - How to Use Wood Dye for Color
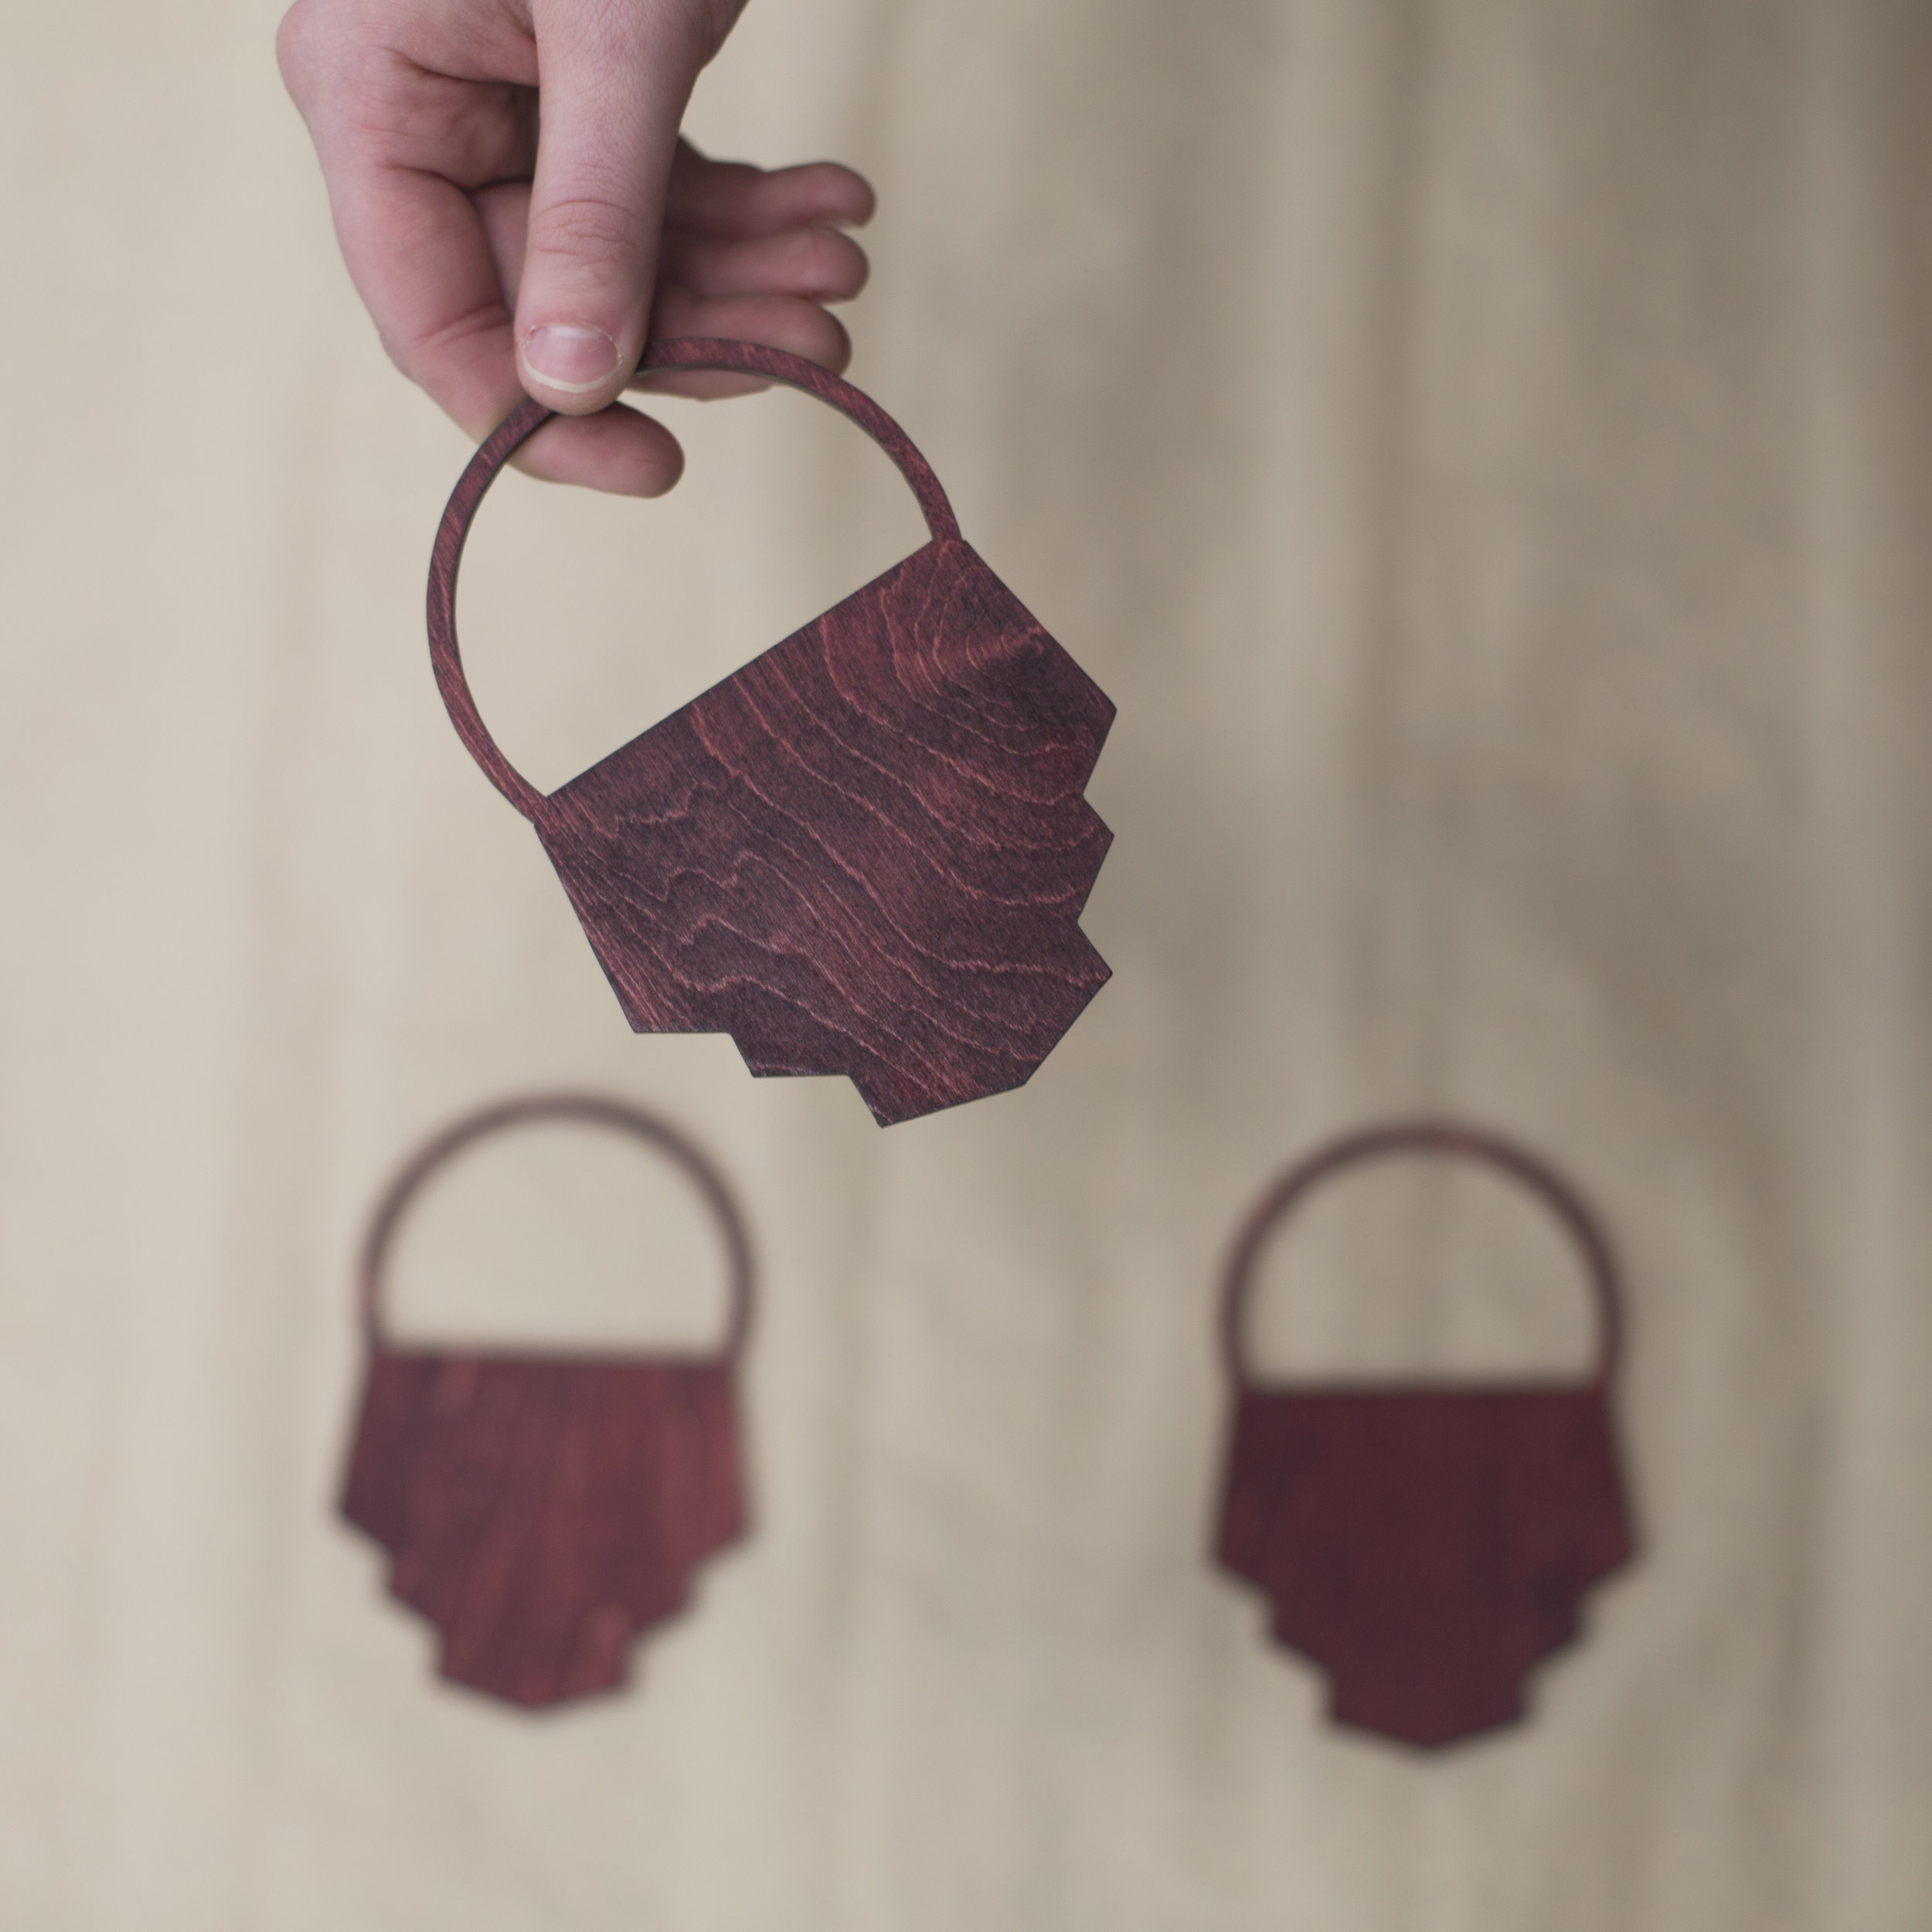
Want to add a pop of color to your laser cut birch plywood pieces? We love using water-based dye and stain to add color to birch! We offer it as one of our finishing services, but if you're a DIYER, you might just want to try it yourself! We like to use General Finishes in our shop, it’s a water based dye.

SUPPLIES NEEDED:
Wood Dye
220 Grit Sandpaper
Stir Stick
Damp cloth or paper towel
Brush, cloth or roller
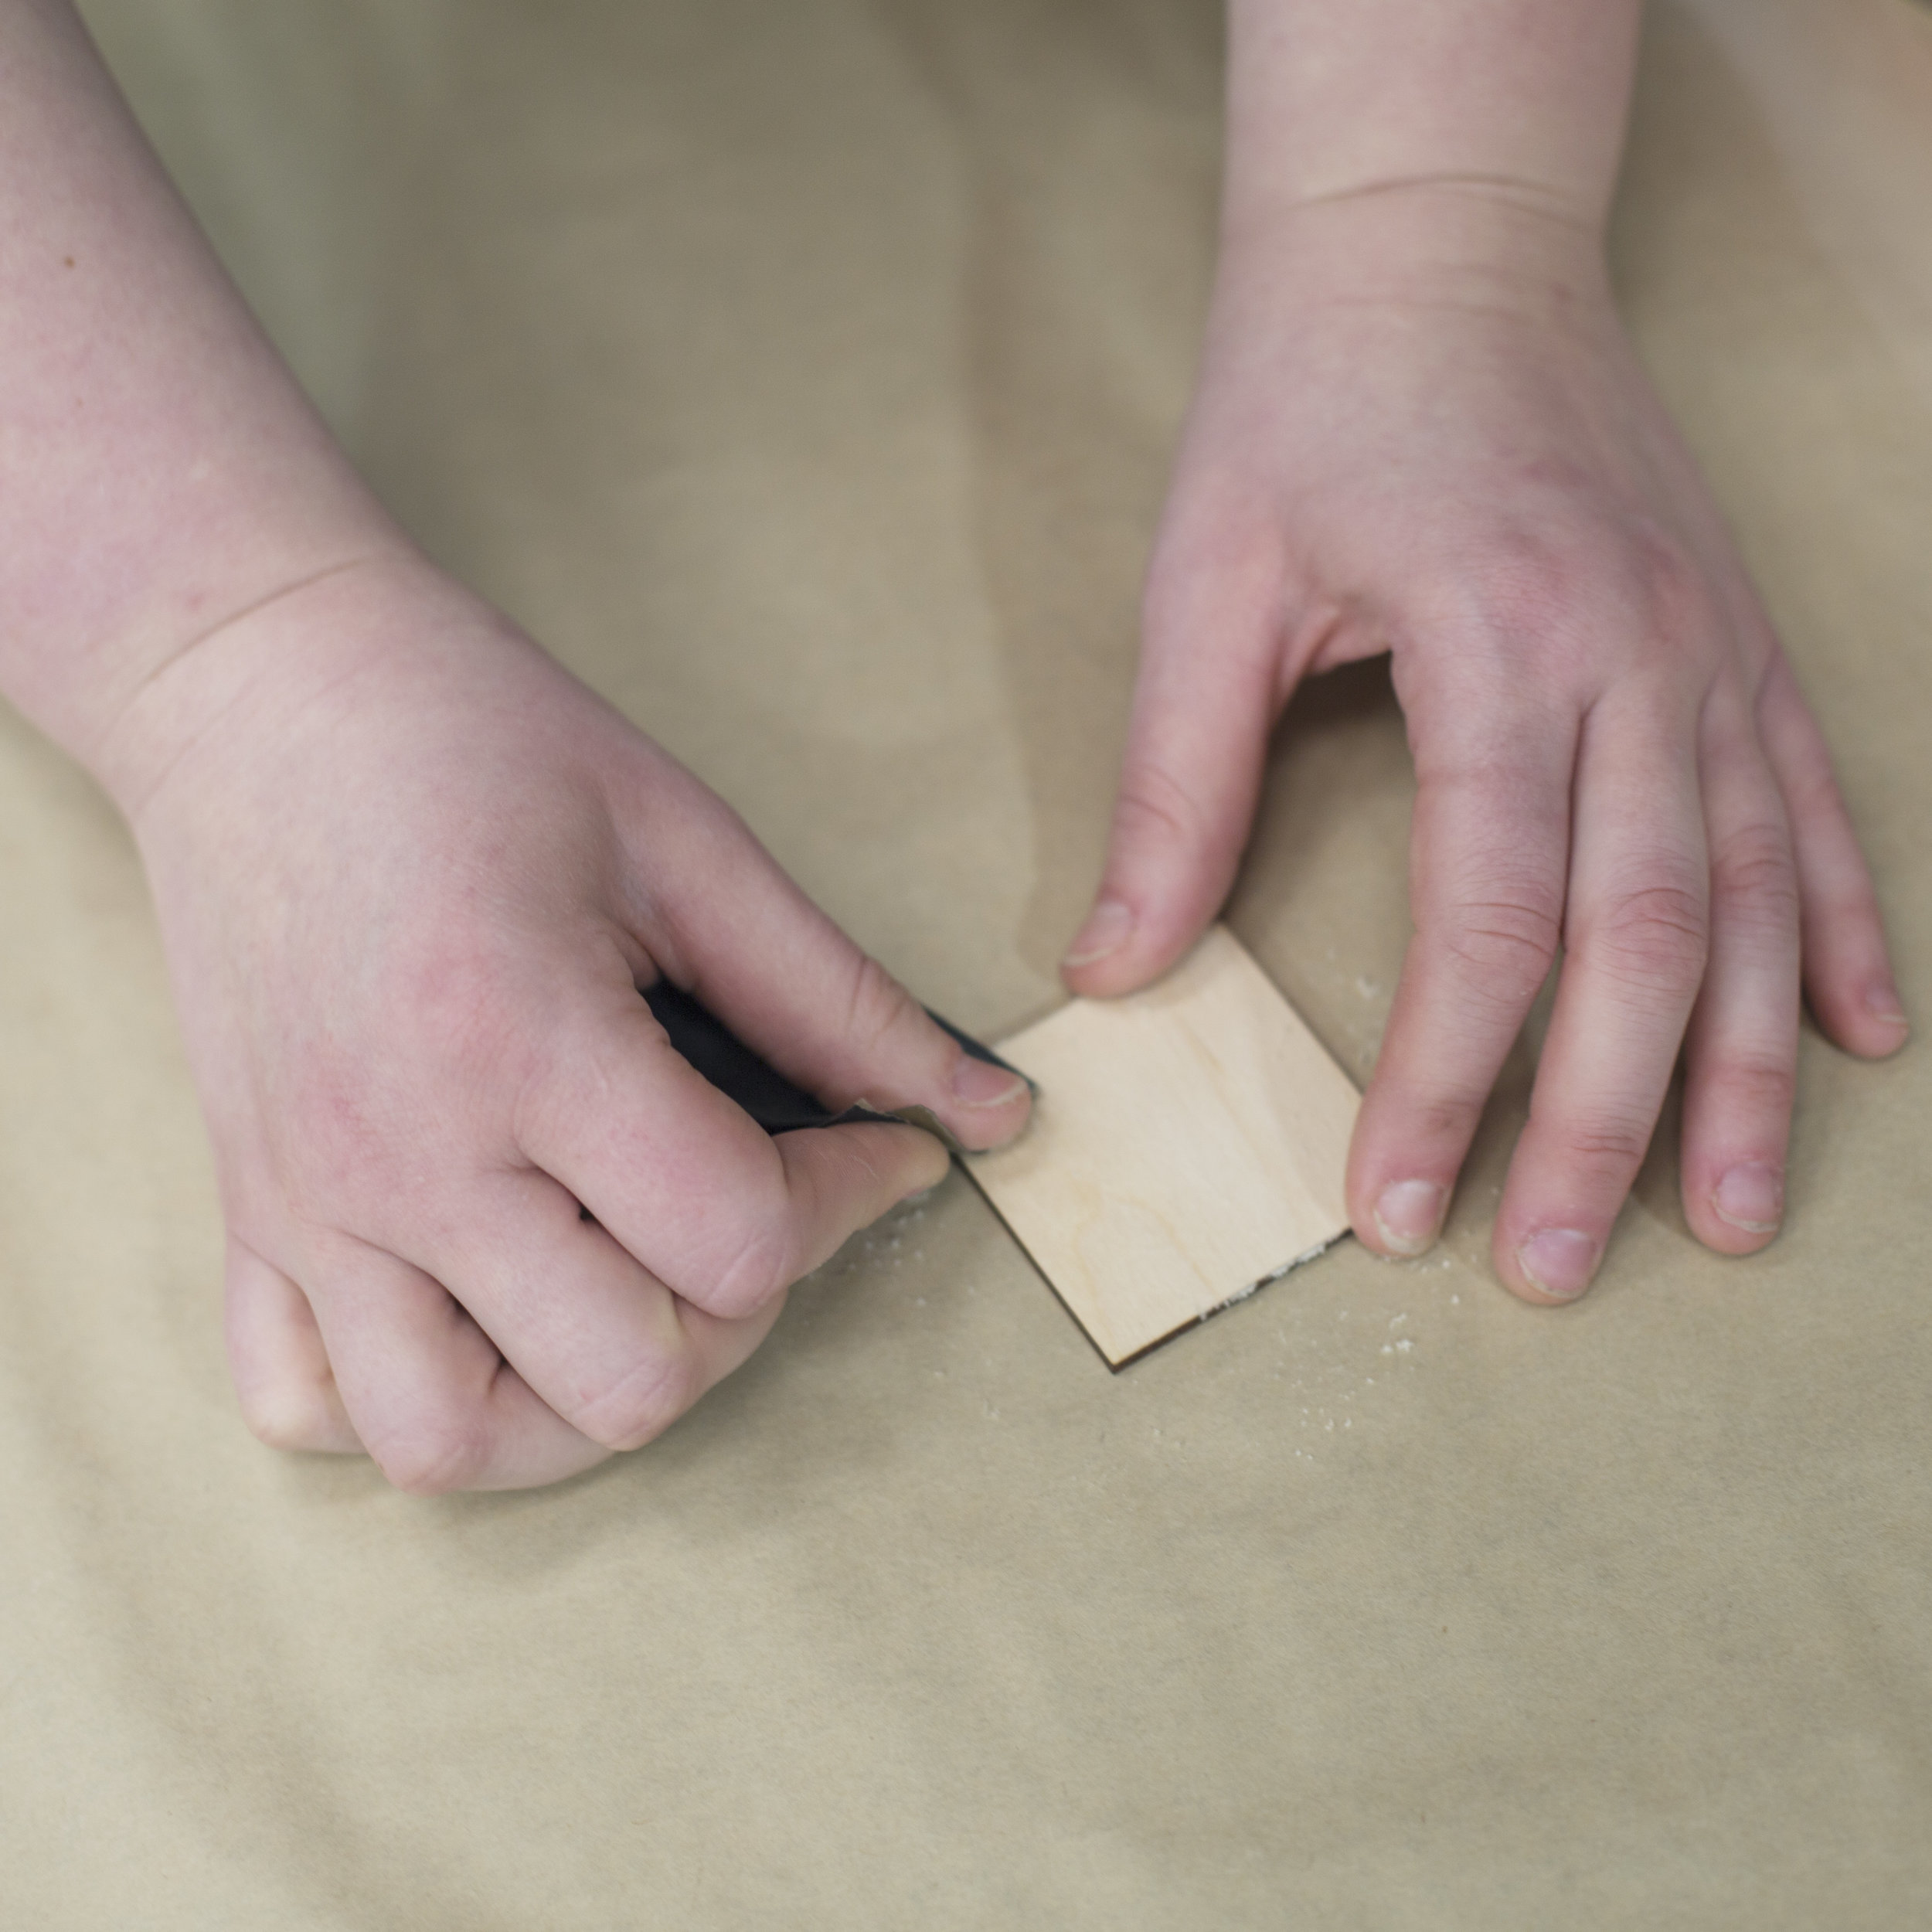
STEP ONE: Sand your pieces with 220 grit sandpaper.
STEP TWO: Clean the surface using a damp cloth or compressed air to remove any dust.
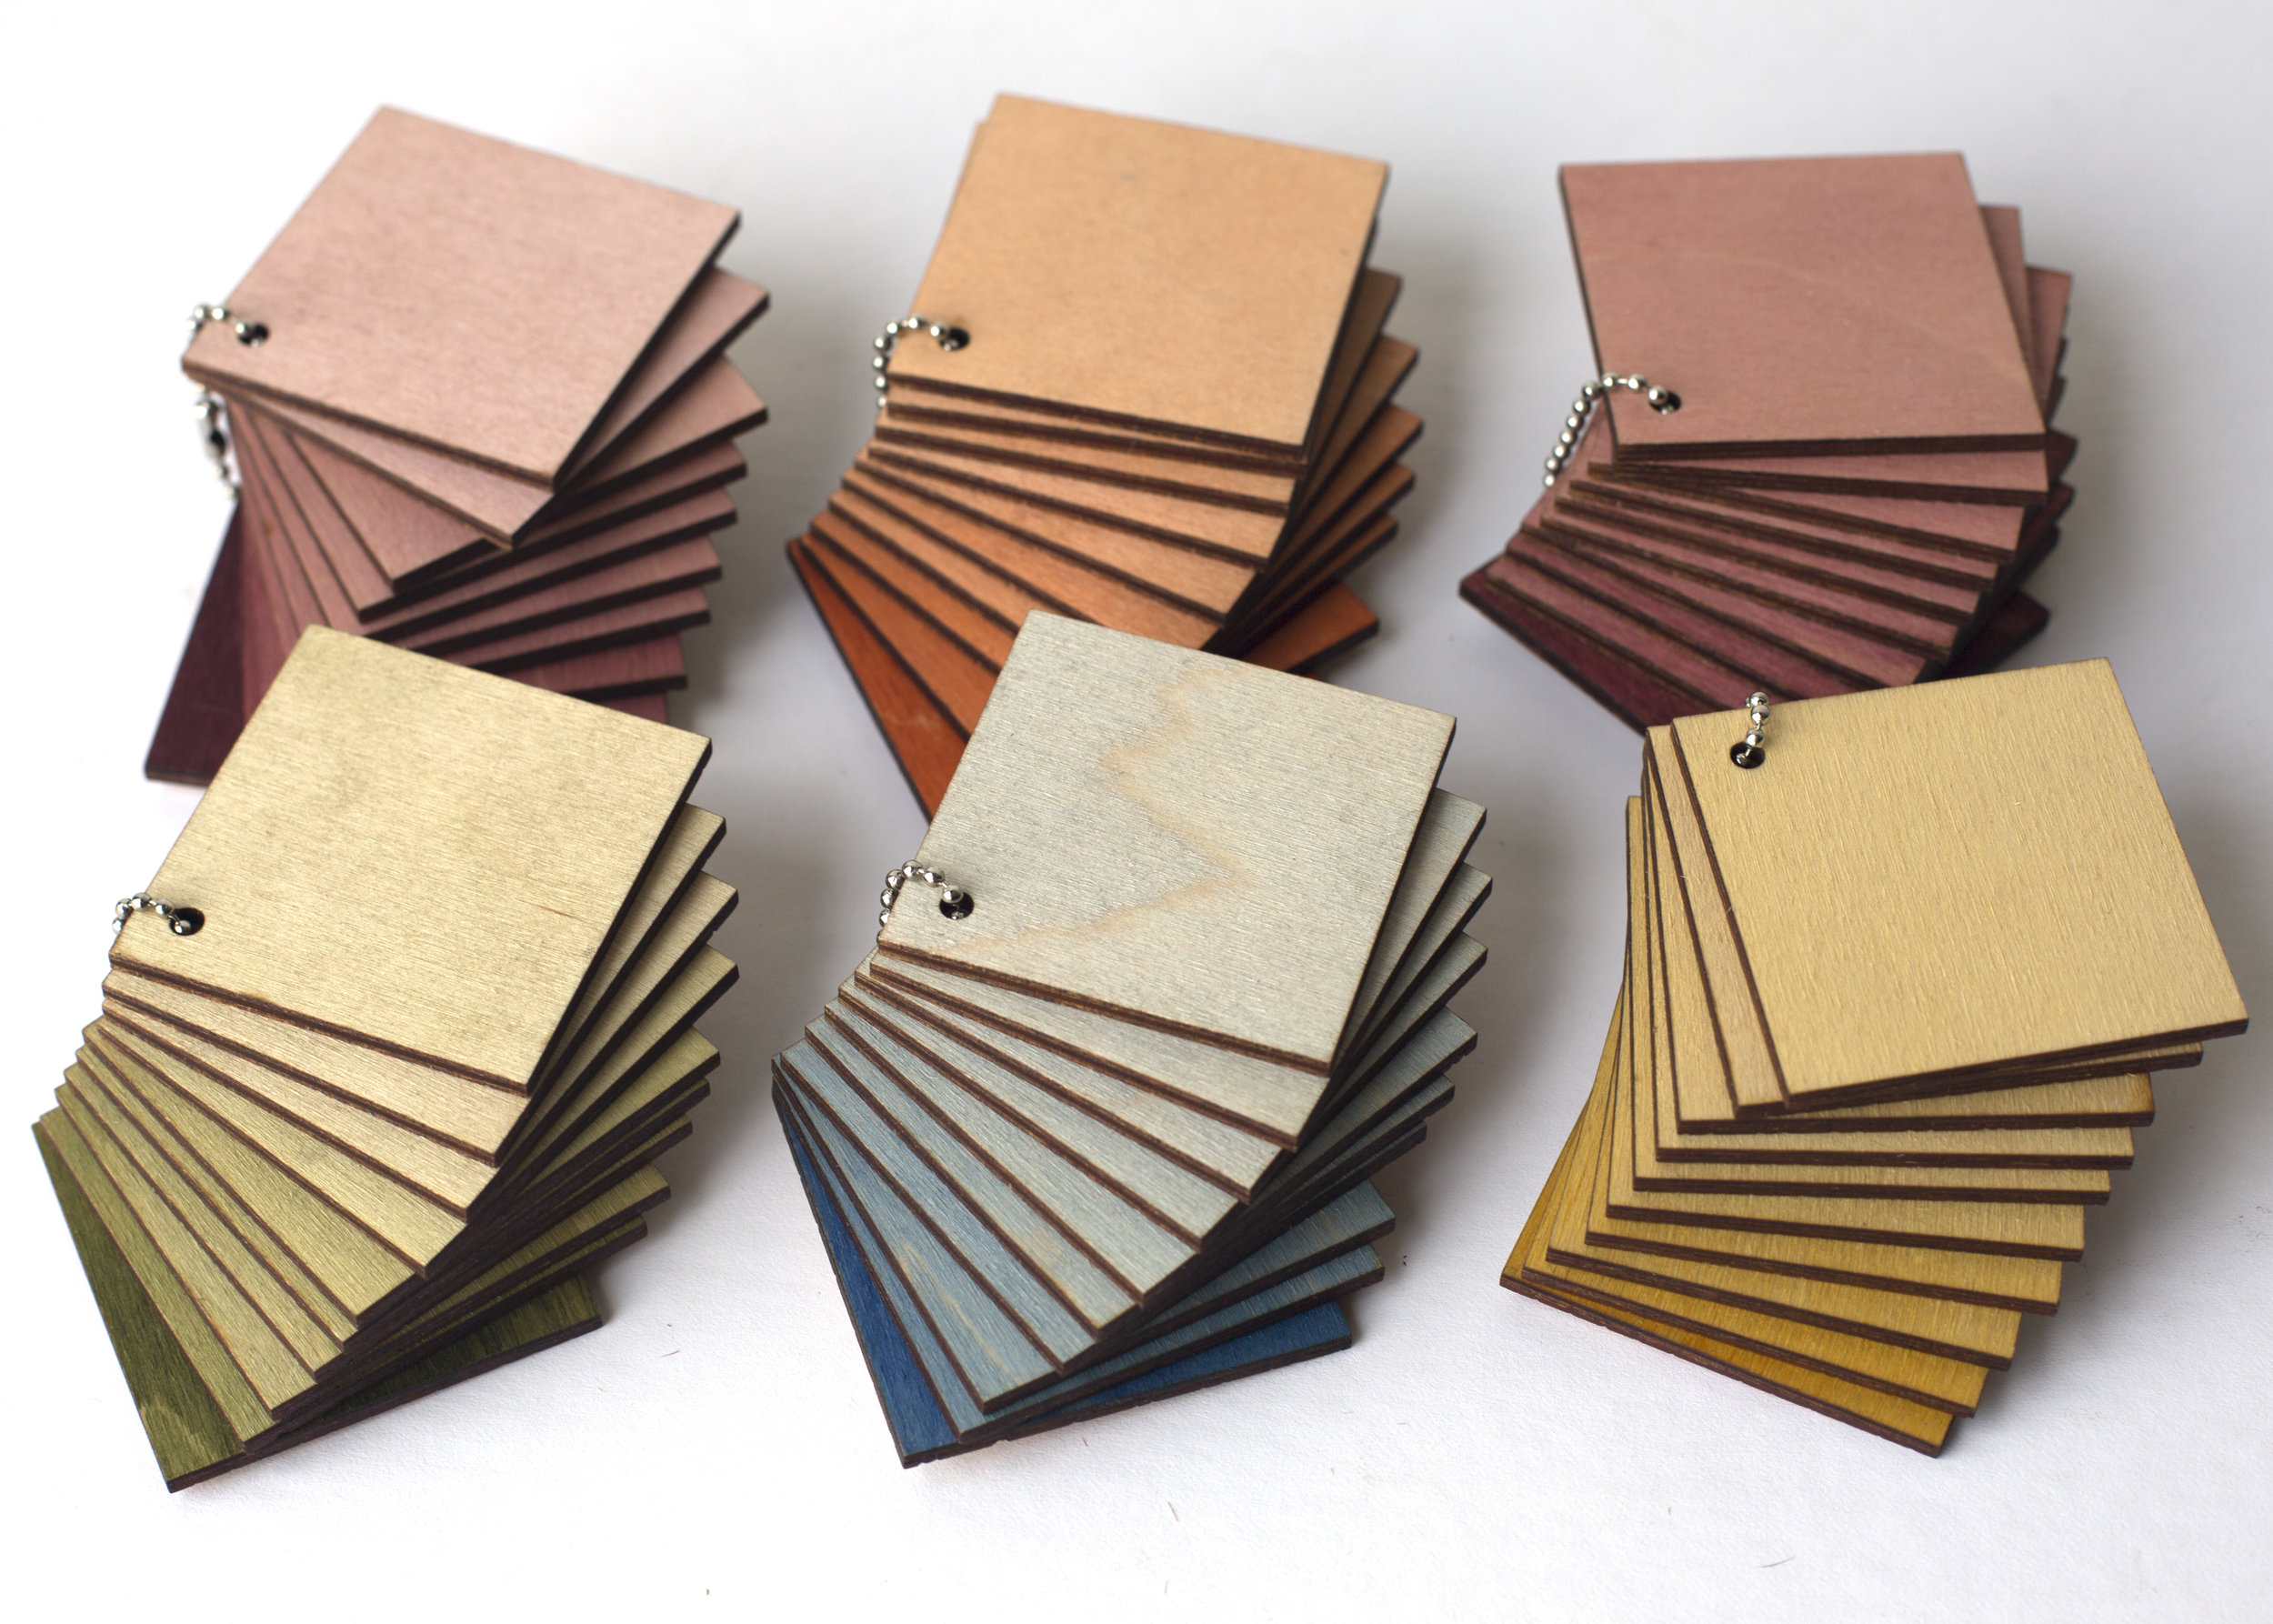
STEP THREE: Stir dye and add water if you want to dilute the color - we recommend testing the dye on sample pieces first. If you want a couple sample squares to practice on, just let us know!
STEP FOUR: Apply the dye - you can do this using a cloth, foam or synthetic brush, roller or even spraying it on. For most pieces, we use a foam brush. Try to apply evenly.

STEP FIVE: Let dry for about 2 hours and apply another coat (if necessary) The nice thing about dyes is that you can build up layers of color for more intensity.
STEP SIX: Finish with a clear top coat to seal in color. We prefer to use spray top coats!