Good Files Make the Magic Happen - PATHFINDER MINUS FRONT TOOL
The minus front tool is a lifesaver when prepping files for the laser cutter! This tool allows shapes to be subtracted from other shapes. It’s located in the PATHFINDER MENU. In the last post in our Good Files Make the Magic Happen series, we covered the unite tool, which is the first tool in the pathfinder menu and works with in conjunction with the minus front tool.

HOW TO USE THE MINUS FRONT TOOL -
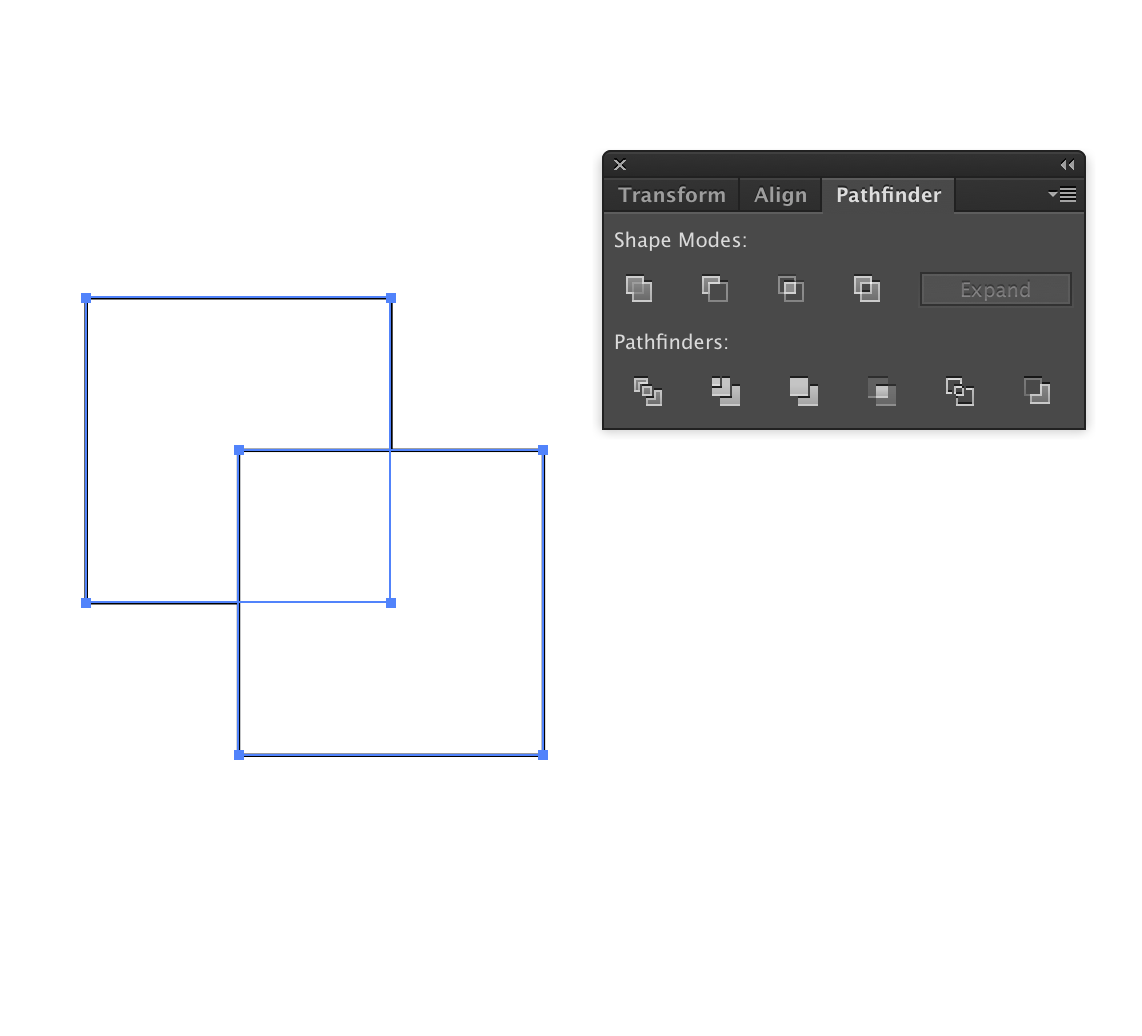
Open the pathfinder window. Depending on how you have your Illustrator workspace set-up, you might need to open the pathfinder window. You can open it by selecting WINDOW - PATHFINDER.
Make your shapes and arrange them properly. It’s best to start with the shape that you’ll subtract from, as Illustrator will automatically arrange the shapes in the order in which they were created. The order of the shapes is important when utilizing this tool - the shape that you’re subtracting from needs to be at very back (the MINUS FRONT tool will minus everything that is in front of the back piece) If you don’t create your shapes in order, you can also just select the shape that you want to subtract from and move it to the back: OBJECT - ARRANGE - SEND TO BACK.
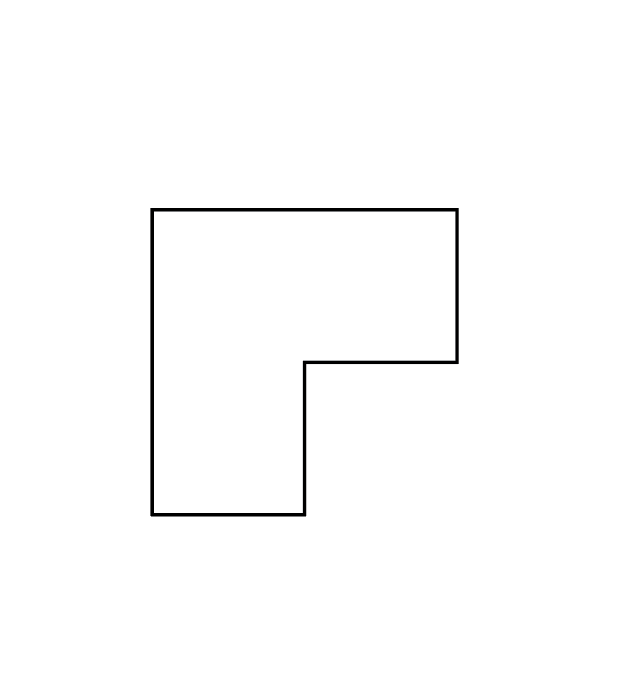
Select your shapes. Select your shapes and then select the minus front tool!
AN EXAMPLE
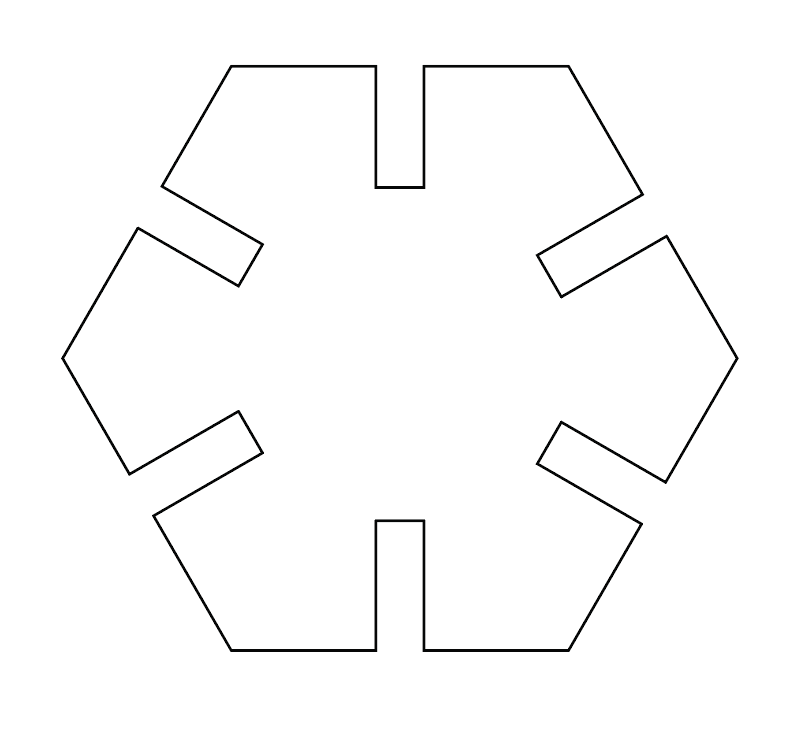
Over the holidays we created a cardboard tree for one of our clients. We used the minus front tool to create the hexagon shaped pieces that hold each layer of cardboard together. To do this we created a hexagon shape and placed rectangles (that match the thickness of the cardboard) on each side of the hexagon. We selected all of the shapes and then used the minus front tool to create the clean vector paths.