
Good Files Make the Magic Happen - Illustrator Artboards
Illustrator is a vector based drawing program that can be used to create vector paths for laser cutting. Many of our clients use Illustrator because it’s one of the easiest programs to use, especially for your beginners!
Illustrator artboards are the background in which you create your design on. It’s kind of like a canvas for a painter…you can make it a variety of sizes and have more than 1 for your artwork.
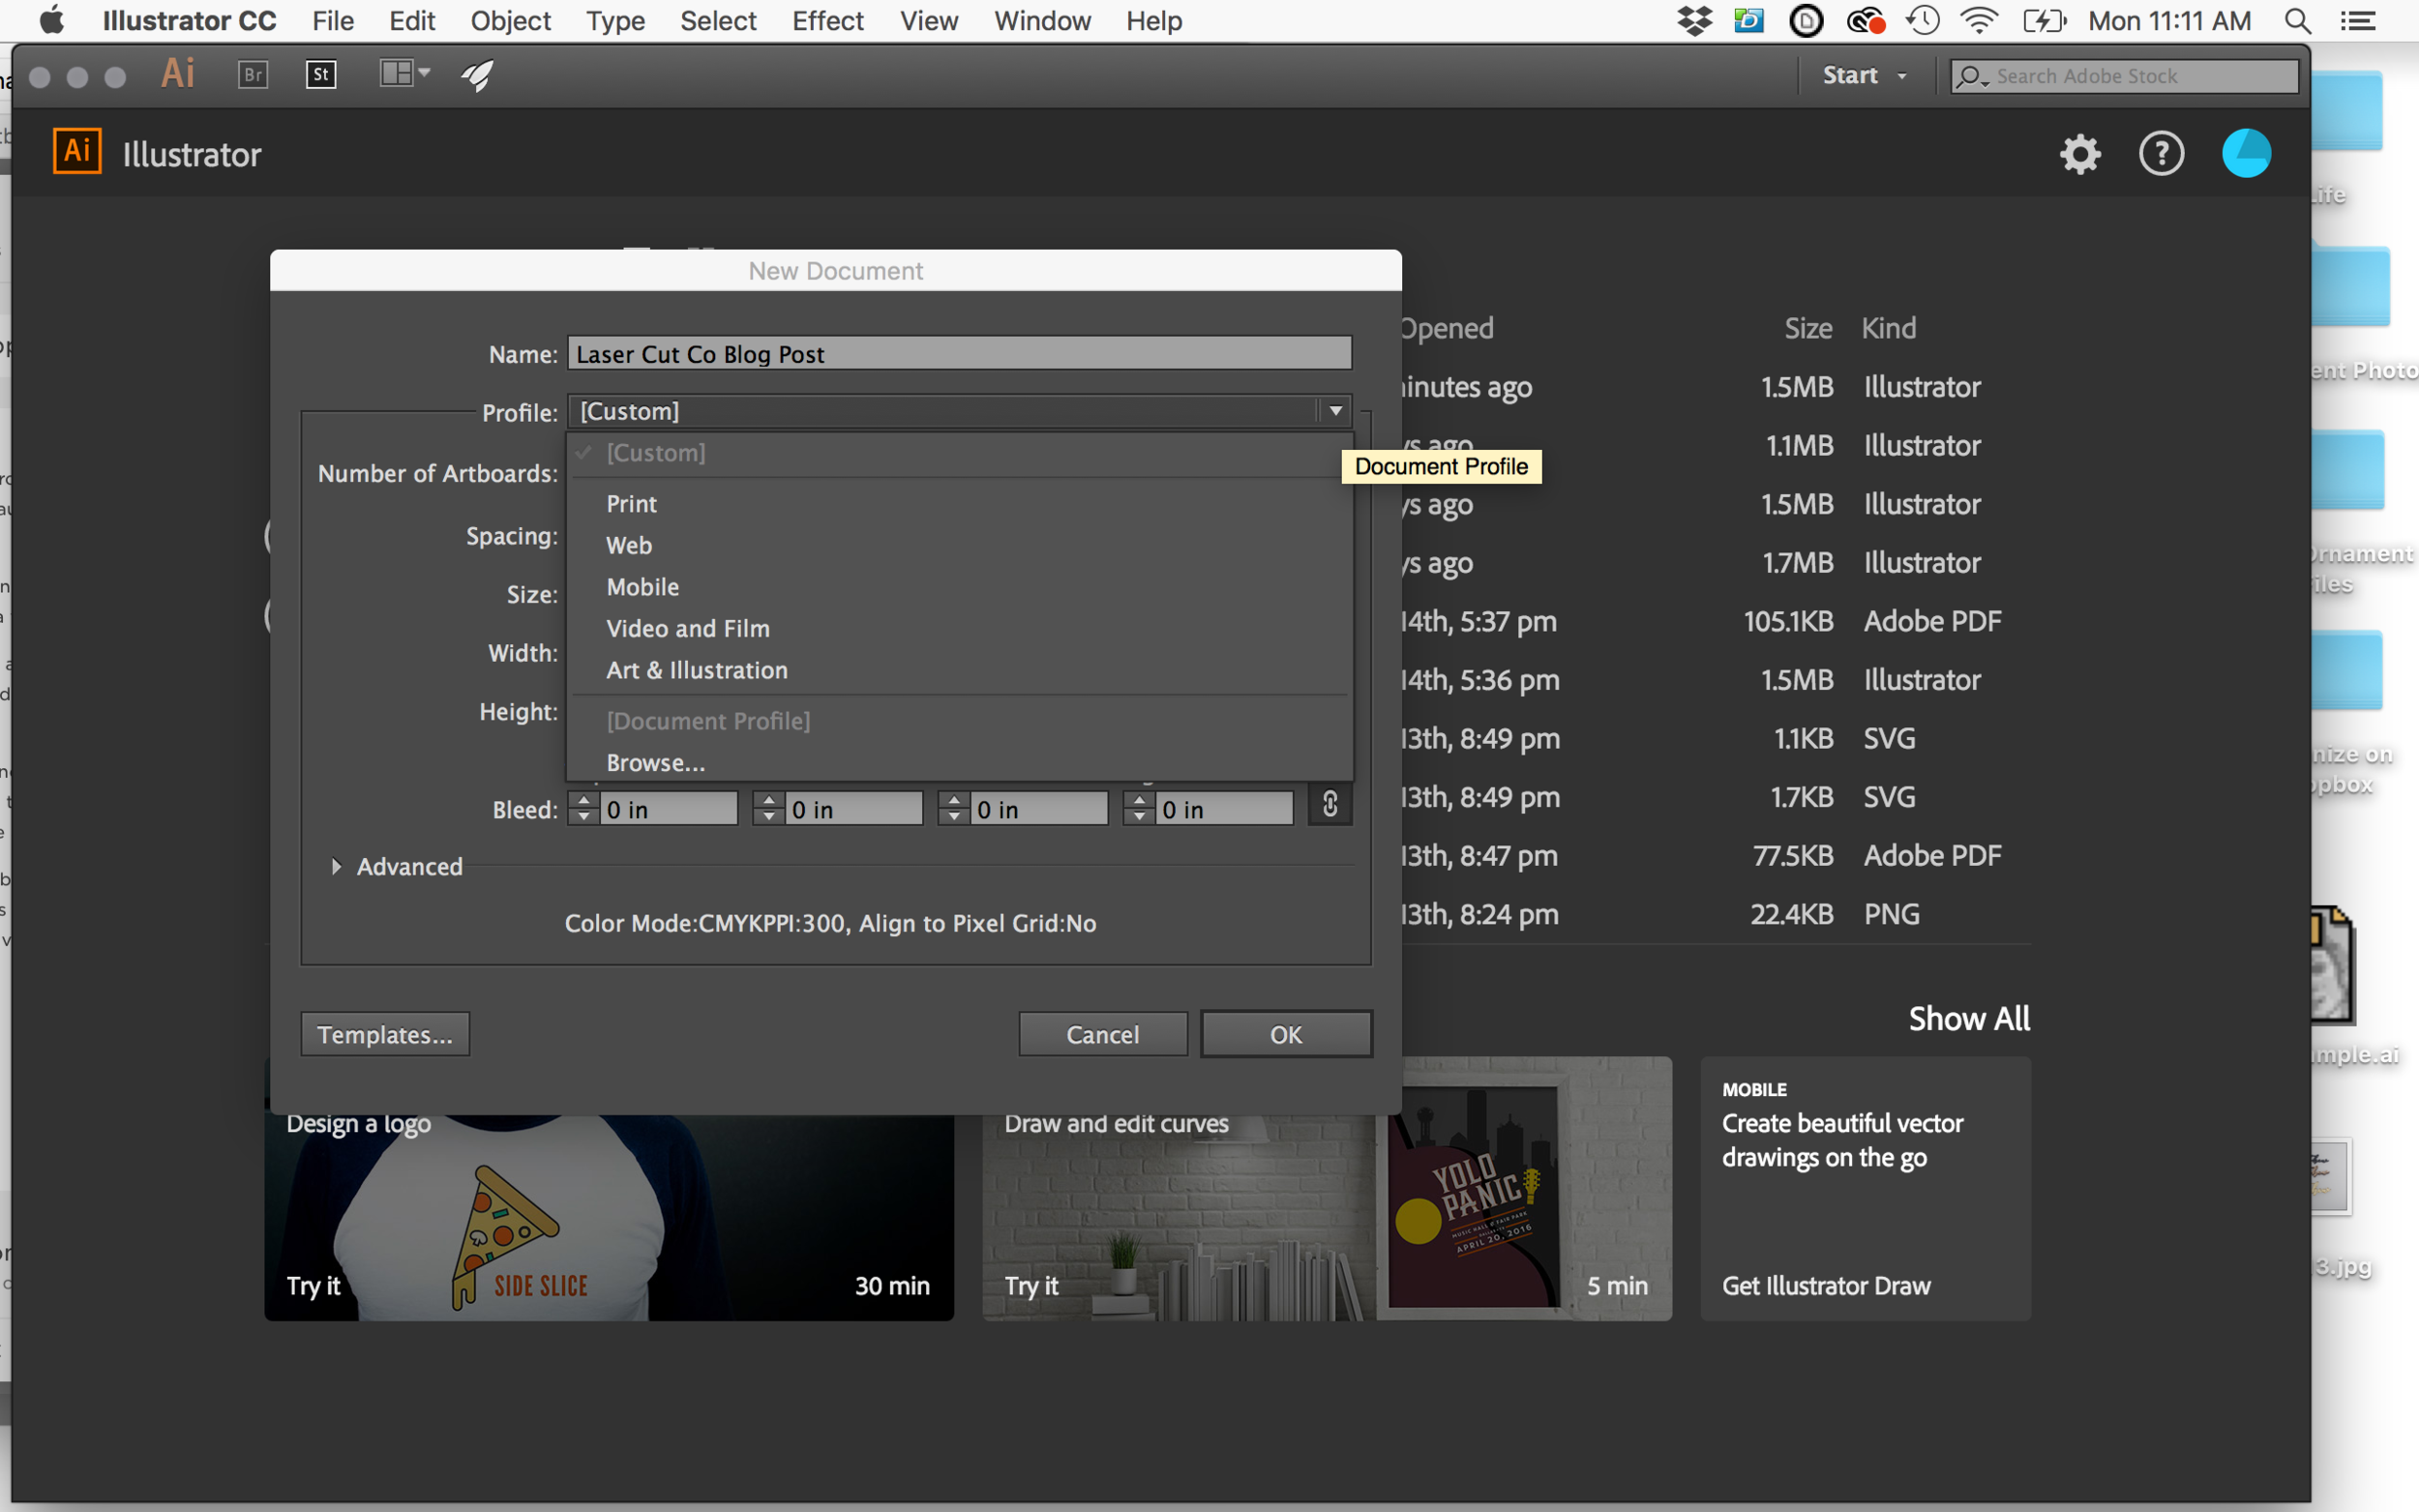
To create an artboard, open Illustrator and select File - New. A New Document menu will pop up. This is where you can select all of the details for the artboard, like the size, orientation, and the quantity.
I always start off by naming my file. Once you’ve named your file, you can select the number of artboards you’d like. If you’d like more than 1, the greyed out menu options will pop up and you’ll be able to change more info about the artboard.

I typically like to have more than 1 artboard if I’m working on a piece that has a front and back side or if I’m working on several pieces that are very similar. For example, a menu that has a front and back or a set of coasters that will vary in design. Once you’ve titled your piece, you can select the profile, these include options for if you’re using the final piece for the web, print, etc. I normally stick with custom.
The following steps will determine the number, the spacing, the layout and the size of your art boards. If you select more than 1 artboard, the greyed out menu area will become active and you can select the layout of these using the 5 boxes next to the number of art boards. Depending on what you’re making, you might want a column of artboards vs. a row of artboards - this is pretty much just personal preference.

The next option you have is spacing. I typically like my artboards to be spaced .5” away from each other, but again, this is just personal preference.
The next option is the size. You can select from a number of presets or you can leave it on custom and set your own. The units box on the right hand side of the screen will allow you to change to a variety of units including inches, centimeters, pixels, points, etc.
I typically work in inches or centimeters because we’re making physical objects, so it’s nice to be able to work directly in the size that we’ll be cutting in.

There is also an option to change the orientation - both vertical and horizontal. Once this is set, click OK and your art boards will appear!
If you want to add or delete an artboard once you’ve started designing, you can use the artboards tool to do so.

Once you select this, your layout will change slightly and an artboard tool bar will appear at the top of your workspace. If you select the little page with a corner flipped, this will allow you to add a new artboard. This artboard can be placed anywhere on your grey workspace.

When you’re finished with your design, you can also choose if you’d like to save all artboards or only selected ones. If you select File - Save - OK, you’ll get to a second save menu. Under Options, you’ll see a checkbox to save each artboard as a separate file, or to just a save a range of art boards.
